
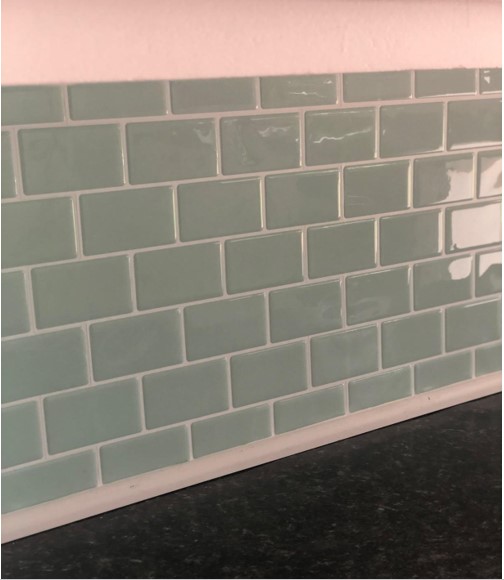
Tired of the same old boring bathroom tiles? Give your bathroom a makeover by covering it with Arabesque peel and stick tile instead! Arabesque peel and stick tile comes in an impressive variety of colors and patterns, and is an inexpensive way to make your bathroom more interesting without breaking the bank. Here’s how to transform your bathroom with Arabesque peel and stick tile!
Step 1: Prepare your space
Before you begin, clean your bathroom thoroughly (obviously). First, remove all of your bath items (towels, shower curtain etc.). Then vacuum thoroughly. You don’t want a speck of dust on your new tiles! After vacuuming, wash any walls or surfaces that need it. Clean any grout lines in your tiles as well. Don’t forget about cleaning behind the toilet as well!
Once everything is cleaned and dry, move onto step 2.
Step 2: Measure out your space: Measure out how much tile you will need for each wall and write down how many tiles are needed for each wall separately. Make sure to leave some extra tile just in case something goes wrong during installation (which rarely happens!).
Write down how many extra pieces of tile you will need for each wall separately as well. This way if one piece doesn’t work out perfectly, you can replace it easily without having to make a trip back to home depot! If there are any areas where two different sizes will fit together seamlessly, write those measurements down too! Now that we have our measurements written down, we can move onto step 3 which is installing our first row of tile.
Step 2: Make sure you have the right tools
The benefits of installing peel and stick tile are pretty simple. It’s cheaper than other options, comes in a variety of styles and colors, and can be installed in an afternoon. If you don’t have access to a professional installation crew, here’s what you need for a do-it-yourself approach Step 3: Take measurements: Measure your bathroom from wall to wall and make sure it fits your budget before moving forward. You should also measure your tub or shower area so that you know how much tile is needed. You want enough extra material so that if any tiles get damaged during installation, there will be enough left over to complete repairs. Be sure to include any window trim or doorways when measuring your space. Step 4: Plan out your design: Using graph paper or computer software, sketch out a layout for each wall based on your measurements.
Step 3: Select your tiles
Before you head out to buy your tiles, do yourself a favor: Take measurements of your bathroom, especially noting any places that are hard to reach or are particularly dirty.
The more information you have about your space before going shopping, the more likely you’ll find what you need when you get there. Plus, it’s always easier to visualize how things will look in real life than on paper—so having some reference points can really help. Once you know how much tile you need (and where), it’s time to start selecting your materials.
If you’re looking for an easy way to update your bathroom without spending a ton of money, consider using peel-and-stick tile from Home Depot. It’s affordable, easy-to-install and comes in lots of styles and colors so that no matter what kind of look you’re going for (or how big or small your budget is) ,you’ll be able to find something that works for you.
Step 4: Install your tiles in 3 easy steps
1. Decide on a pattern.
2. Cut your tiles to fit in each section of your bathroom.
3. Apply self-adhesive tabs by moistening them with water and pressing them onto the back of your tile sheets at intervals close enough for them to adhere when dry.