
A new garage door may improve your home’s curb appeal, update the outside, raise your return on investment, increase the overall safety of your house, and improve daily convenience. With some basic DIY skills, equipment and a complete estimate of garage door service, you can quickly and simply install a garage door yourself. It will take 8-12 hours to install a garage door yourself. We’ll also provide you with useful advice for effectively and securely installing a new garage door that you’re not likely to discover in the manufacturer’s instructions.
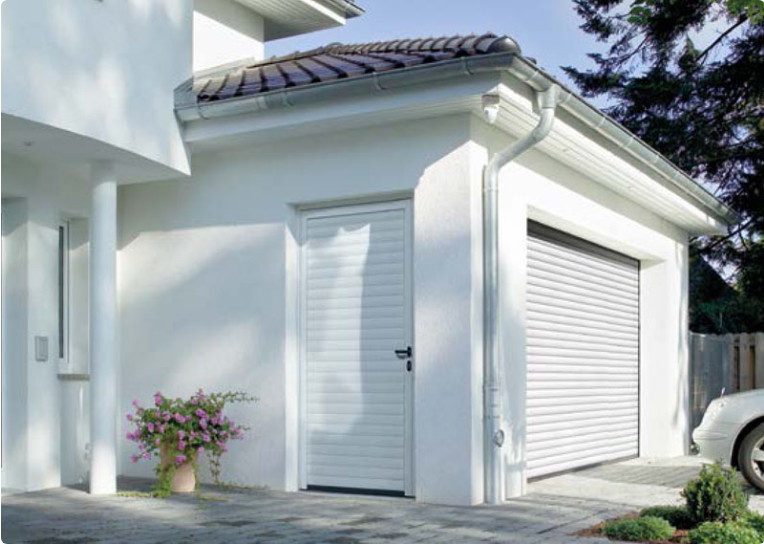
Steps To Install Domestic Garage Door
You must acquire the necessary equipment and adhere to the installation instructions provided by the manufacturer for a secure DIY garage door installation of your new garage door. Get the following tools and supplies in advance of installing your garage door service:
- Socket Bit
- Open-Ended Wrench
- Drill bits
- Driver Bit
- 1/2-Inch Diameter Rods
- Hammer
- Level
- Safety Glasses
- Adjustable-Locking Pliers
- Drill
Following easy steps will allow you to install your new garage door quickly and simply once you’ve gathered the necessary supplies. The most popular kind of domestic garage door, a sectional garage door has three to eight panels that glide up and down a track.
1. Release The Garage Door Torsion
This refers to unwinding the torsion spring rather than opening the door with a key. If you don’t, the garage door will spring back on you and hurt you. Thus, secure the torsion spring shaft with pliers before positioning them against the header wall above the domestic garage door. Then, put a steel rod into one of the spring winding cone’s holes. From this point, you may begin to unscrew the screws that are keeping the torsion spring tensioned and then use the steel rods to slowly free the spring. Once both springs are freed, proceed gently.
2. Take Off the Door Panels
It is now time to begin. Remove the hinges holding the panel below the top panel. The track may be disconnected by unscrewing it from the doorframe. Use two persons while working with glass panels and take extra care to prevent breakage. To save time later, you may remove this while changing the garage door opener. It’s okay if you’re leaving.
3. Install The Garage Door Panels
When replacing a two-door garage door, add a reinforcement bar along the top panel to prevent bowing in the middle. Drill pilot holes, and if the manufacturer hasn’t already, use screws to secure the bar to the panel. To guarantee a smooth installation and assembly, you should start with the hinges by attaching them to the top of each panel. The axle supports should then be attached to the bottom and top panels. Then Install the bottom panel and ensure that it is level. Make sure the groove of the higher panel properly rests on the ridge of the lower panel as you assemble each new panel on top of the one that came before it. Continue doing this until every panel is securely in place.
4. Install Hinges & Check The Track
Attach each above side of hinges to the top panel and then install the axle wheels to the side hinges. Apply the same procedure to the top and bottom supports next. Make sure the wheeled axles glide down the track by testing them out.
Finally, fasten the door cable to the axle support’s hook on the bottom panel. Ensure that all of the brackets are put correctly and that all of the hinges are securely fastened.
5. Integrate The Spring Assembly With The Track
Screw together all the components that hold the spring and attach it to the track at the same time. The curved portion of the track is then set on the vertical piece you previously created, utilising the ceiling supports from the previous domestic garage door as support. Incorporate the opposite end into the ceiling bracket.
6. Install Springs
The two springs are firmly bolted to the header bracket after the spring anchors are connected to the springs and the spring locking cone is fastened.
7. Secure the Torsion Rod
Pulleys are connected to the ends of each torsion rod by sliding them into the side header brackets’ holes. After levelling the assembly’s centre, attach the centre header bracket to the header’s centre mark. Attach the rope to the pulley wheel on either side after raising it from below. Turn the wheel and slide it to the header bracket to take up the slack. Locking pliers should be tightened on the rod outside the bracket.
8. Connect Cable
From below, secure the cable to the pulley wheel. Next, turn the wheel to tighten any loose cable over the pulley. After positioning the wheel on the header bracket, tighten all components firmly. Now, secure a pair of locking pliers to the rod outside the bracket to prevent it from spinning while you tighten the garage door springs. While you have adjusted the garage door springs, the final step is to attach the locking pliers, it will prevent the rod to be broken from the outside of the brackets.
9. Finishing Up
Turn the steel rods in the other direction from how you turned them before to tighten the spring. Lock it in place until it feels comfortable, and then take the pliers off the torsion rod. Now, you ought to have an easy operation with your DIY garage door service.